Hub documentation
Collections
Collections
Use Collections to group repositories from the Hub (Models, Datasets, Spaces and Papers) on a dedicated page.

Collections have many use cases:
- Highlight specific repositories on your personal or organizational profile.
- Separate key repositories from others for your profile visitors.
- Showcase and share a complete project with its paper(s), dataset(s), model(s) and Space(s).
- Bookmark things you find on the Hub in categories.
- Have a dedicated page of curated things to share with others.
- Gate a group of models/datasets (Enterprise Hub)
This is just a list of possible uses, but remember that collections are just a way of grouping things, so use them in the way that best fits your use case.
Creating a new collection
There are several ways to create a collection:
- For personal collections: Use the + New button on your logged-in homepage (1).
- For organization collections: Use the + New button available on organizations page (2).

It’s also possible to create a collection on the fly when adding the first item from a repository page, select + Create new collection from the dropdown menu. You’ll need to enter a title and short description for your collection to be created.
Adding items to a collection
There are 2 ways to add items to a collection:
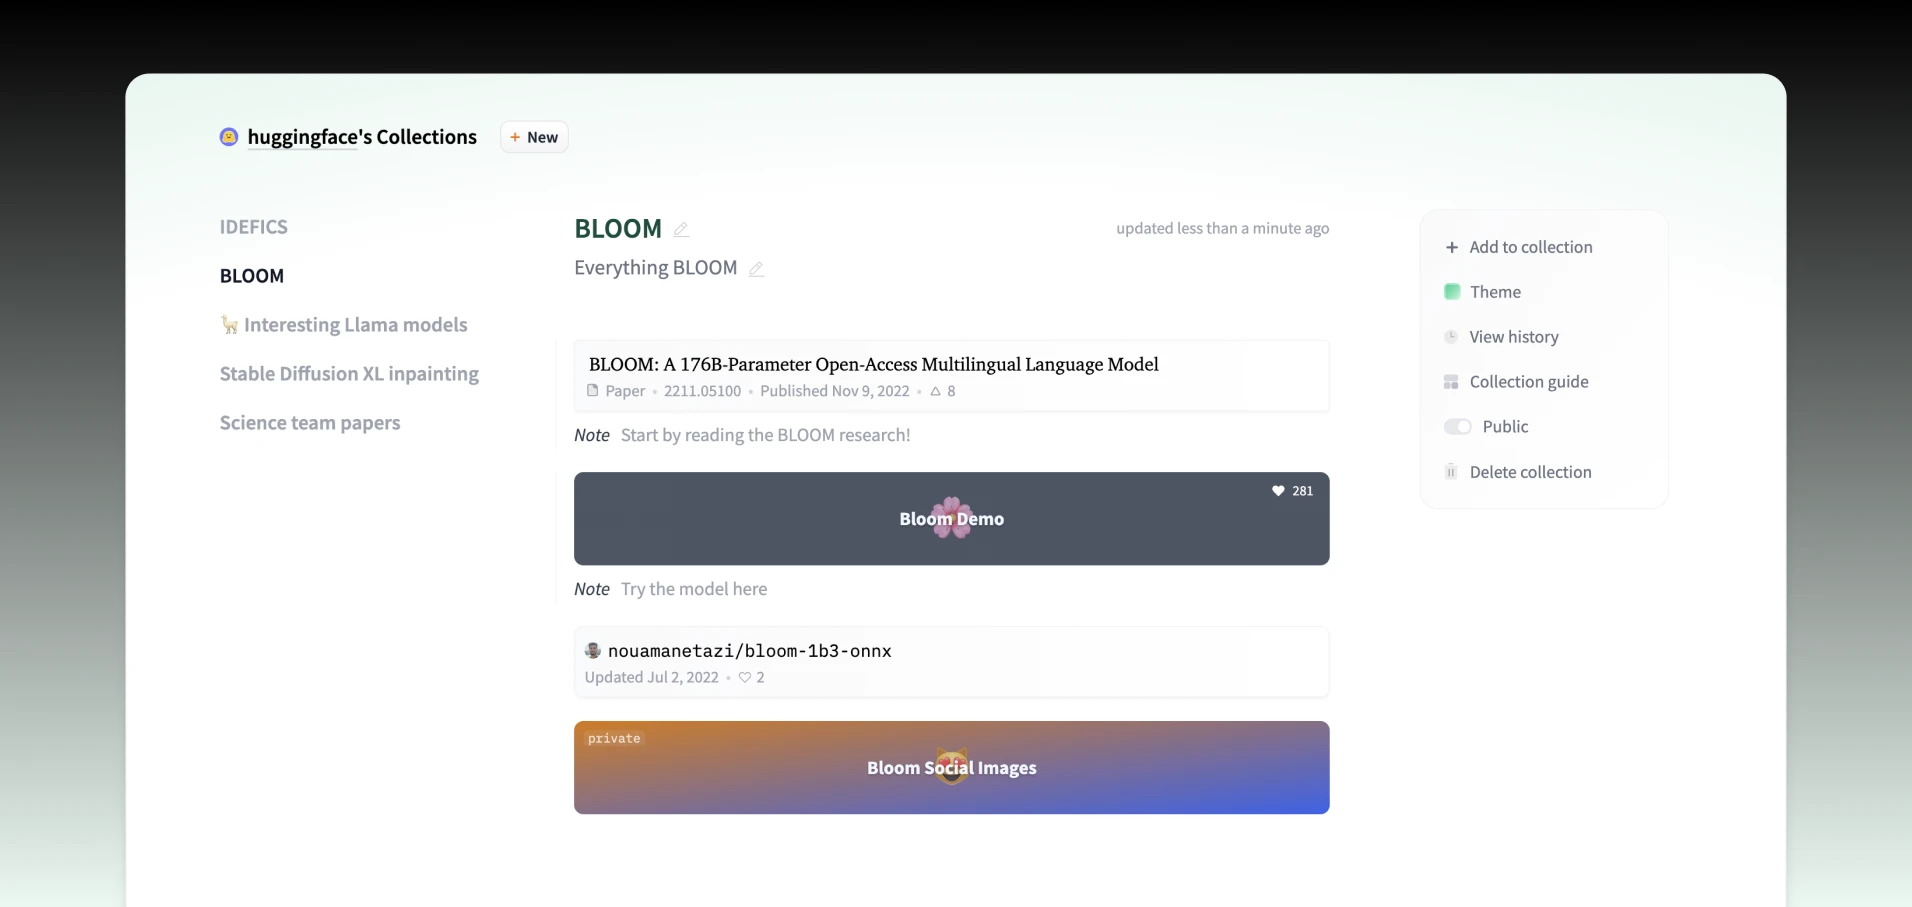
- From any repository page: Use the context menu available on any repository page then select Add to collection to add it to a collection (1).
- From the collection page: If you know the name of the repository you want to add, use the + add to collection option in the right-hand menu (2).

It’s possible to add external repositories to your collections, not just your own.
Collaborating on collections
Organization collections are a great way to build collections together. Members with Read-only access can view collections, but only members with Write (or higher) organization permissions can create collections or add, edit, and remove items. Use the history feature to keep track of who has edited the collection.

Collection options
Collection visibility

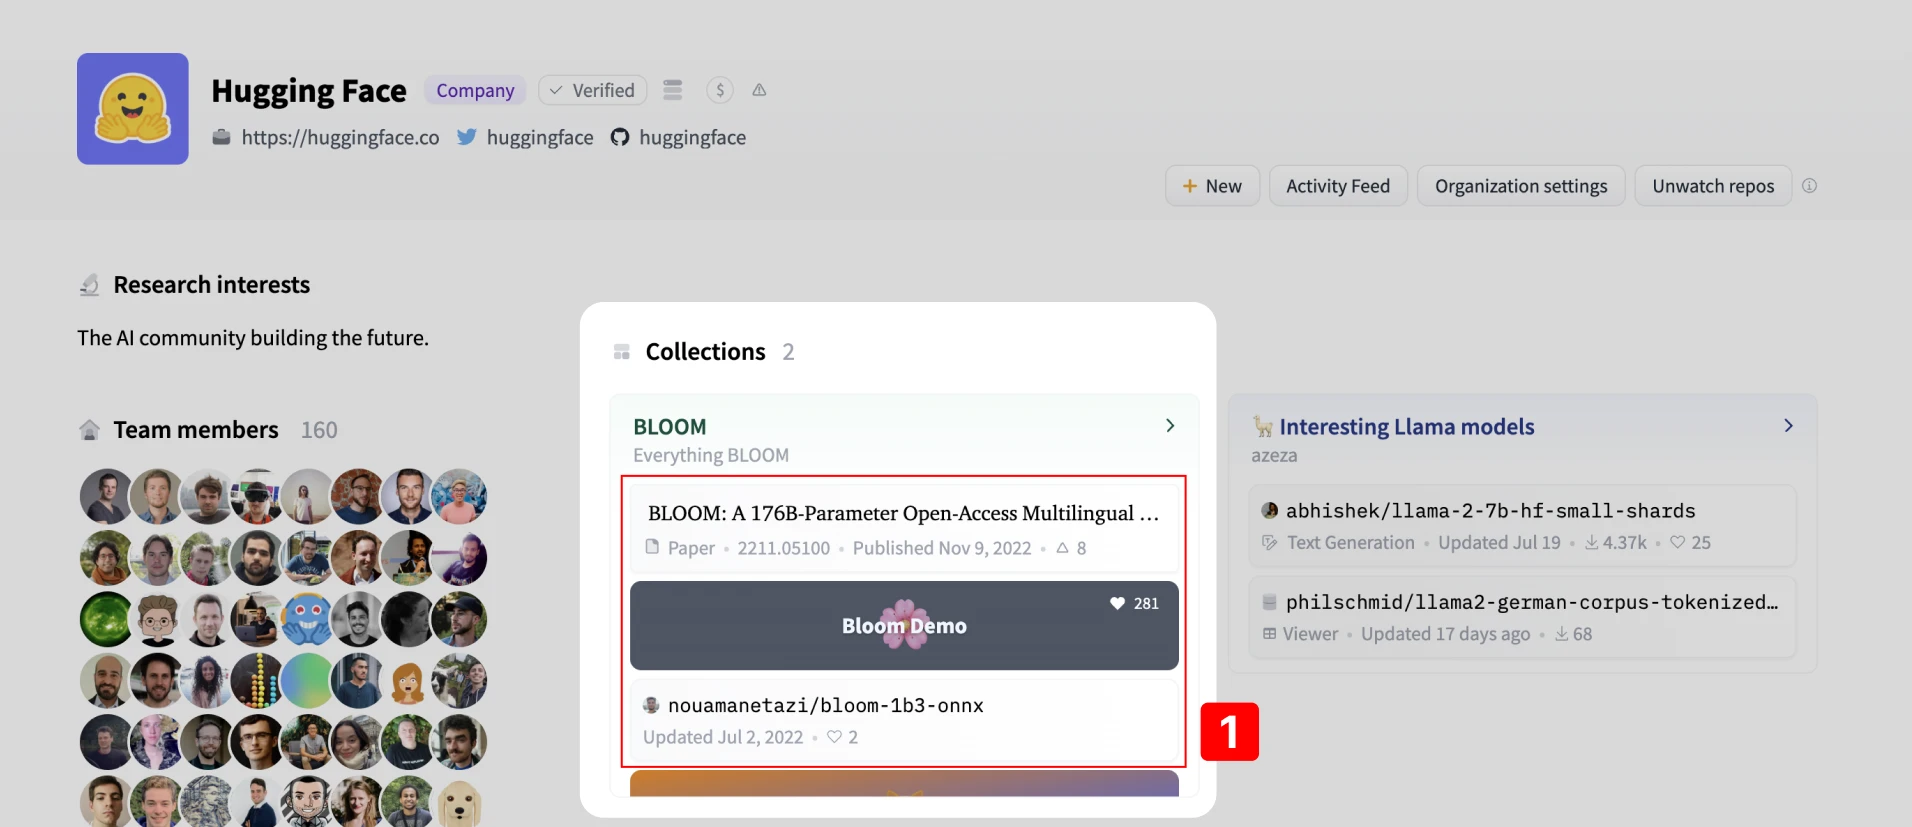
Public collections appear at the top of your profile or organization page and can be viewed by anyone. The first 3 items in each collection are visible directly in the collection preview (1). To see more, the user must click to go to the collection page.
Set your collection to private if you don’t want it to be accessible via its URL (it will not be displayed on your profile/organization page). For organizations, private collections are only available to members of the organization.
Gating Group Collections (Enterprise Hub)
You can use a collection to gate all the models/datasets belonging to it, allowing you to grant (or reject) access to all of them at once.
This feature is reserved for Enterprise Hub subscribers: more information about Gating Group Collections can be found in our dedicated doc.
Ordering your collections and their items
You can use the drag and drop handles in the collections list (on the left side of your collections page) to change the order of your collections (1). The first two collections will be directly visible on your profile/organization pages.
You can also sort repositories within a collection by dragging the handles next to each item (2).

Deleting items from a collection
To delete an item from a collection, click the trash icon in the menu that shows up on the right when you hover over an item (1). To delete the whole collection, click delete on the right-hand menu (2) - you’ll need to confirm this action.

Adding notes to collection’s items
It’s possible to add a note to any item in a collection to give it more context (for others, or as a reminder to yourself). You can add notes by clicking the pencil icon when you hover over an item with your mouse. Notes are plain text and don’t support markdown, to keep things clean and simple. URLs in notes are converted into clickable links.

Adding images to a collection item
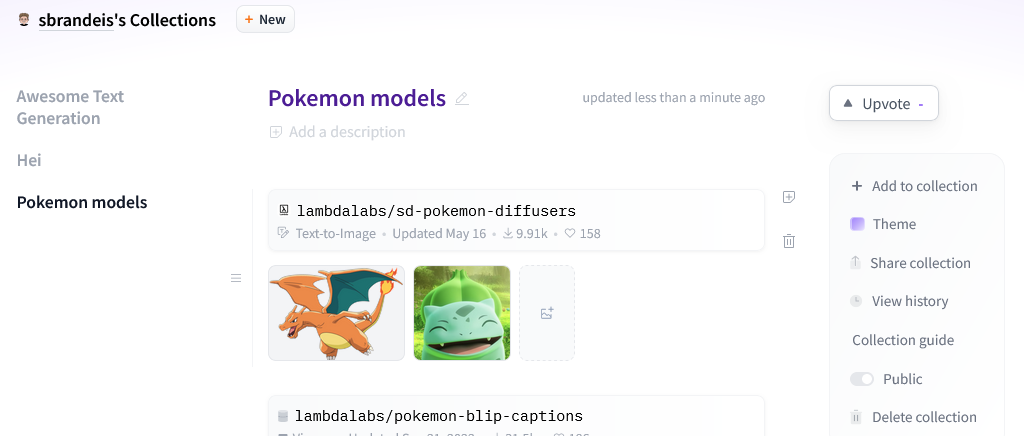
Similarly, you can attach images to a collection item. This is useful for showcasing the output of a model, the content of a dataset, attaching an infographic for context, etc.
To start adding images to your collection, you can click on the image icon in the contextual menu of an item. The menu shows up when you hover over an item with your mouse.

Then, add images by dragging and dropping images from your computer. You can also click on the gray zone to select image files from your computer’s file system.

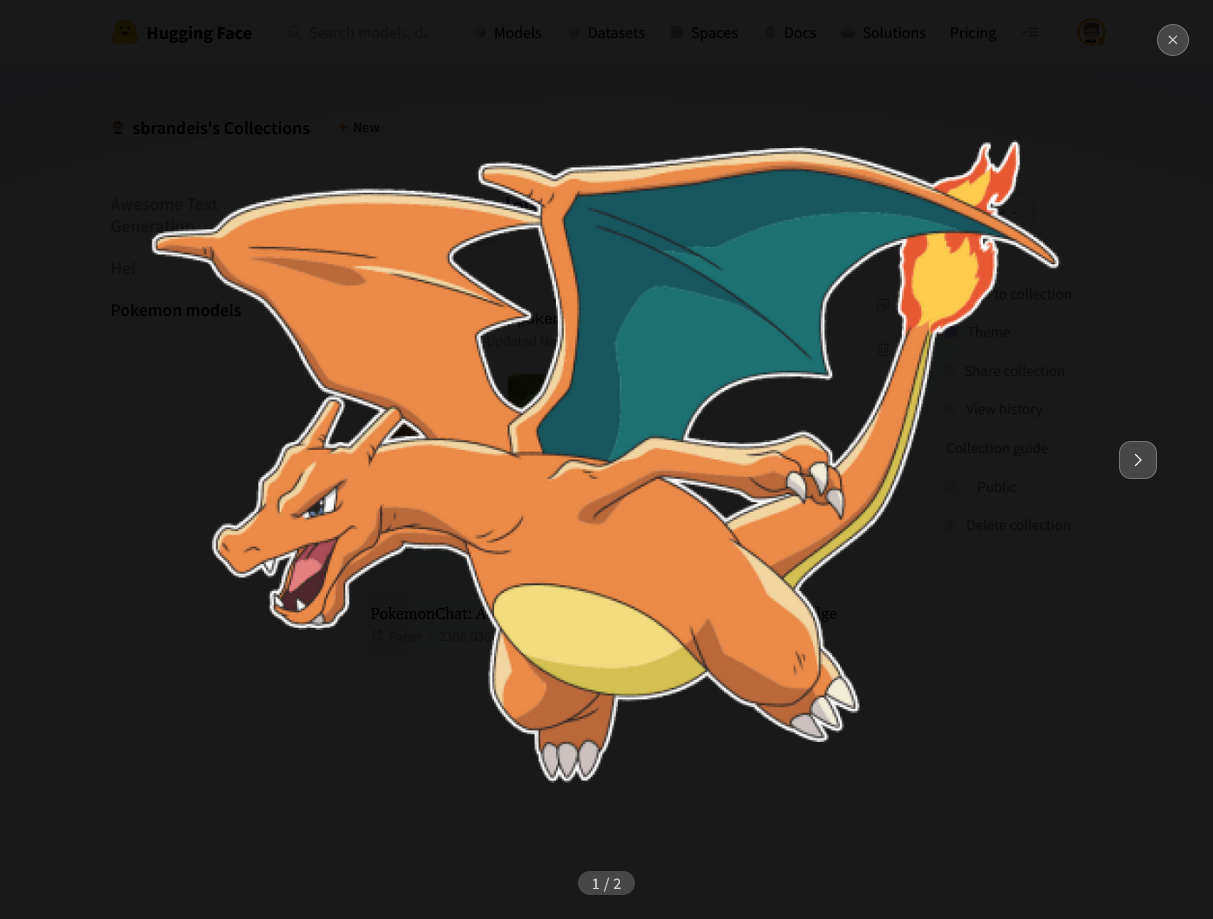
You can re-order images by drag-and-dropping them. Clicking on an image will open it in full-screen mode.

Your feedback on collections
We’re working on improving collections, so if you have any bugs, questions, or new features you’d like to see added, please post a message in the dedicated discussion.
Update on GitHub